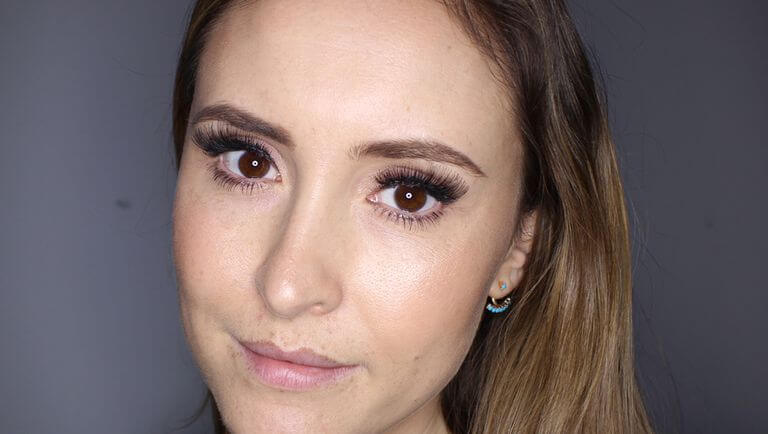
Applying false eyelashes can be tricky, have you ever thought they looked perfect in their packet only to apply them and look like a TOWIE wannabe? Unfortunately, strip lashes aren’t one-size-suits-all. Here’s how to find the ideal lash type for your eye shape, and handy hacks for applying them so they look natural – and last.
Table of Contents
FIRST, WHAT’S YOUR EYE SHAPE?
Nouveau Lashes has tried to answer the “will these suit me?” question with illustrations to help you identify your eye shape. ‘Almond eyes’ are considered the suit-all strip lash eye shape (this is when your irises disappear into your upper and lower eyelids when you look straight ahead). Not happening for you? Here are some other common shapes and structures, which – of course – come in manyvariations.
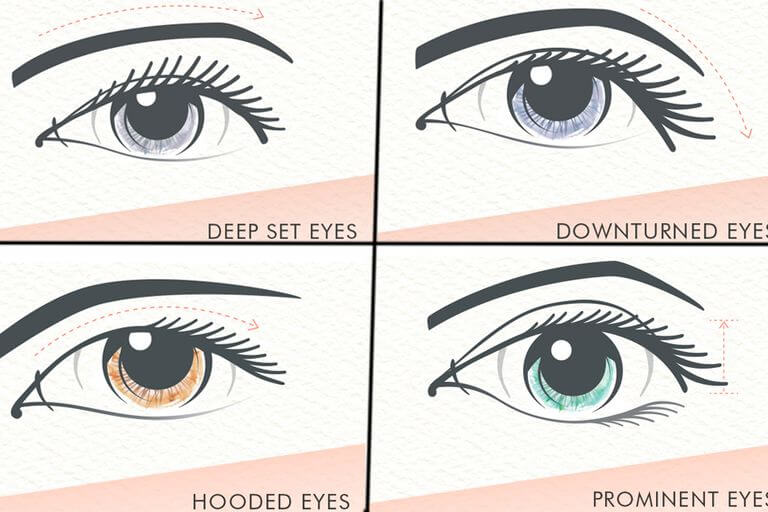
Deep-set eyes; when your eyes are set deeper into the head creating an illusion of a more prominent brow bone. Try lashes that are longer in length at the centre of the lashes.
Downturned eyes; when the outer corners of the eyes appear to be drawing downwards. Try a shorter strip lash that is longer in the outer corners to lift your eyes.
Hooded eyes; when the crease on your eyelid isn’t visible. Try a thin strip lash in a shorter length.
Prominent eyes; when your eyelids appear projected in the eye socket area. Try balancing your top lashes with strip lashes on the bottom, too, which will give the illusion of pushing back your eyes.
Also, consider if your eyes are close or wide set.
THE CLOSE-SET / WIDE-SET TEST:
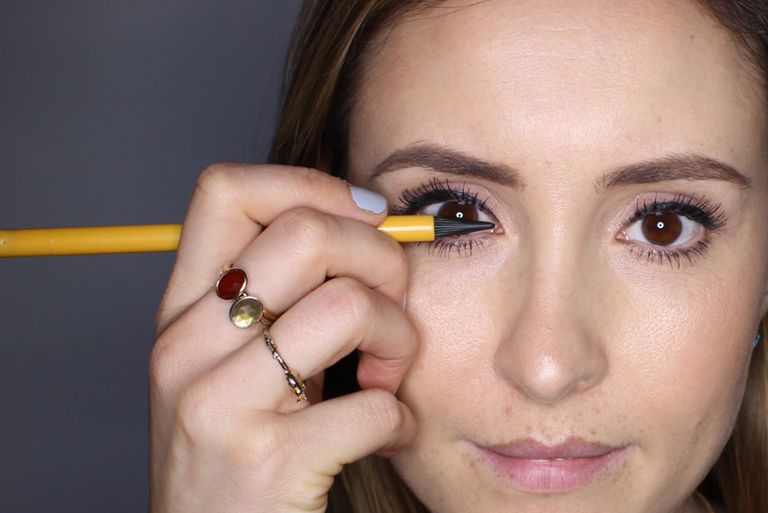
Using a pencil, pen or makeup brush look into a mirror and place your tool from the inner corer of the eye to the outside edge which will let you measure your eye. Technically you should be able to fit the width of one of your eyes perfectly in between the two eyes. When you get overlap (i.e. there’s less than one eyeball width space apart) you tend to have close-set eyes so you want to create the illusion of drawing them apart with lashes that are longer at the outer corners. If the space is bigger than one eyeball width then you have wide-set eyes and want the emphasis to be towards the center and inner corner of the lashes to draw the eyes together.
REMOVING THE LASHES FROM THE BOX:

Hold them in the packet under your nose with the lashes facing outwards; this will identify the left and right lashes as they’re not always marked. To remove always peel them from the outer edge, never from the inner corner. This is because if you bend one section of lashes on the outside it doesn’t matter as it’s more than likely you’ll be trimming them off to fit your eyes anyway. If you bend or break the lash from the inner corner, it matters! Gently tease it out using your fingers or tweezers and rest the lashes back in the box.
MEASURING-UP THE LASHES:
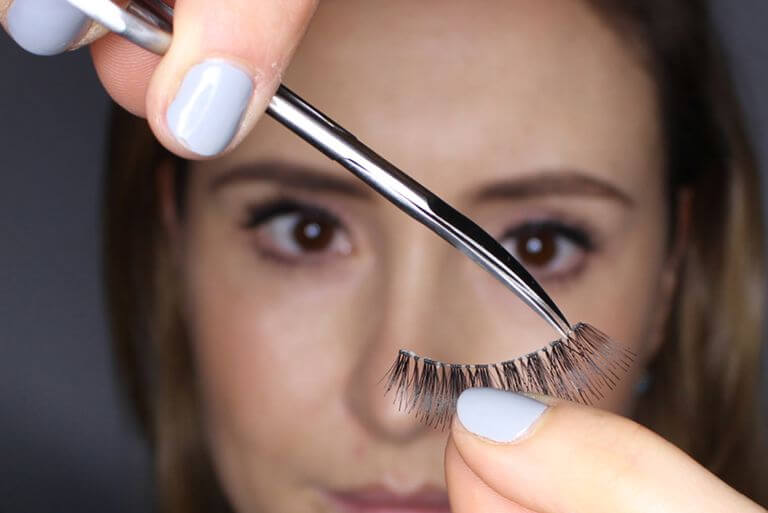
Rest the strip lash along your lash line to see whether you need to trim it to size. The strip should start where your natural bulk of eyelashes begin, if you start too close to the inner corner it will irritate your eyes. To mark where your strip lashes should end, go to the outer corner and count 2-4 lashes inwards. If you have them hanging over, it can pull the eyes down.
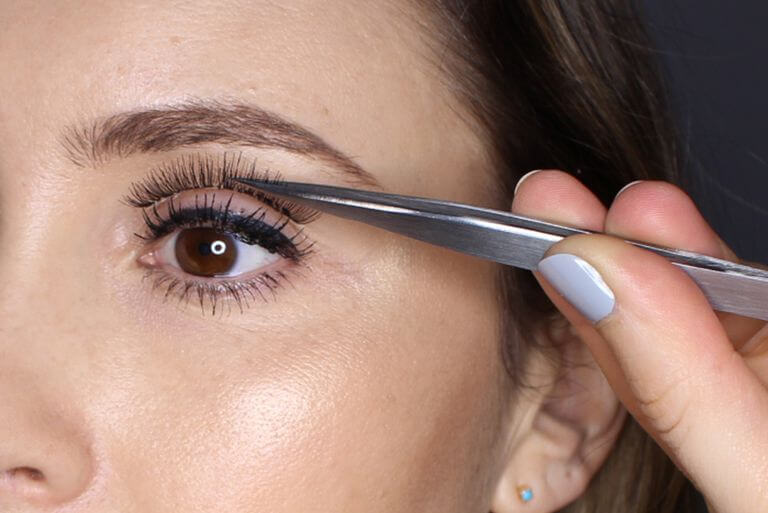
TRIMMING THE LASHES TO SIZE:
If you have to trim your lashes to fit, remember to do it from the outside edge and don’t cut through the lashes, always cut them at the vein. If you cut upwards you’ll chop half of other lashes off you wanted to keep.
PREVENTING FALSE LASH POP-UP:

Sometime lashes can flatten when you take them out of the box and therefore pop up at the inner or outer corners once applied. To avoid this roll the lashes around your finger, a makeup brush, pen or cotton bud and leave for a minute – this will help them remain more curved in shape.
APPLYING THE GLUE CORRECTLY:

Dot a thin layer of glue (straight from the adhesive applicator) along the vein of the lash, from corner to corner. Wait a few seconds for it to go tacky before application. If you want super long-lasting application do the ‘double adhesive’ technique by applying some dots of glue along your lash line as well as on the lashes.
WHERE EXACTLY TO APPLY THE LASHES:
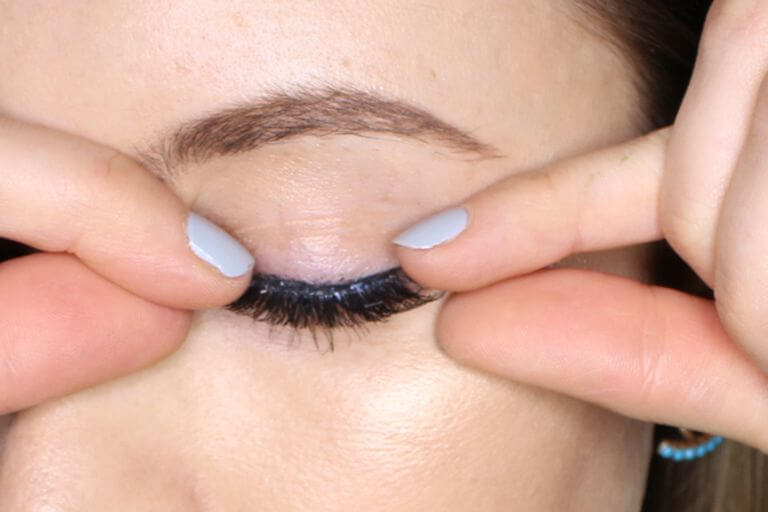
Remembering to place them where your natural bulk of eyelashes begin, look down and press the strip lash against your lash line in the centre, the outer edge and inner corner.
BONDING THE LASHES:
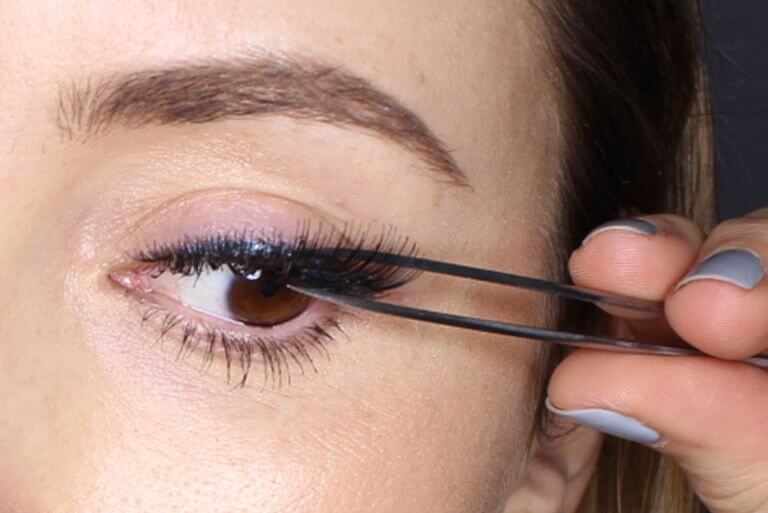
Having mascara to start with lets you pinch and push your natural lashes and the false lashes together so they set well. Squeeze the strip lash down onto the natural lashes so you don’t end up with a strip of skin between your lashes and the false lashes. Carefully use eyelash tweezers or simply your fingertips.
CREATING SOME UPLIFT :
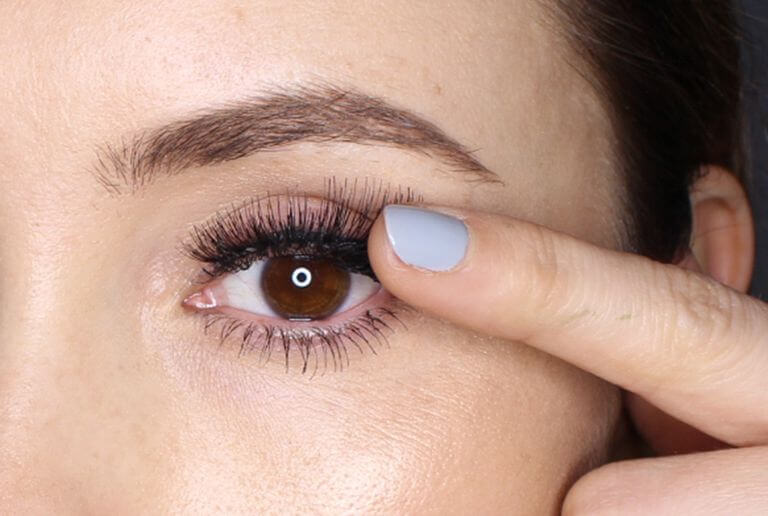
If you want to create more uplift with your lashes, finish by gently pushing against the lashes at the edge of the inner lash line.
HOW YOUR LASHES WILL LOOK…